Showing posts with label Biscuits. Show all posts

Thursday, 23 August 2012

Crisp, melt in your mouth, chocolate biscuits

These chocolate biscuits are wonderful! They melt in your mouth and have a deep, rich, chocolatey taste. They are exceptionally quick to make and have minimal ingredients which is perfect for when you are having another one of those chocolate craving days.

Try them out and see what you think:

Crisp Chocolate Biscuits

Ingredients: (makes +/- 20 biscuits)

  • 125g butter
  • 50g caster sugar
  • 125g self raising flour
  • 25g cocoa

Ingredients

Method:

  1. Preheat the oven to 190 degrees centigrade
  2. Grease a baking sheet well or put a silicone mat onto a baking sheet (a"silpat" works well)
  3. Beat the butter and sugar together until light and creamy.
  4. Sift in the flour and cocoa and mix well.
  5. Form the misxture into small balls.
  6. Place onto a greased baking sheet and flattern with a damp fork.
  7. Bake for 10 - 15minutes
  8. When they come out the oven they may still feel soft and uncooked to the touch, but don't let that concern you. Once they are cooled they will be hard and crisp.
  9. Transfer to a wire rack to cool.

Enjoy with a cup of tea!

Tuesday, 21 August 2012

Rusks, Rusks, Rusks!

Today's recipe is: Buttermilk rusks! These rusks are like biting into a little, crunchy heaven! They are absolutely divine! They have a wonderful flavour and they are the perfect accompaniment to your cup of tea! I got this recipe when I was at Silwood, so you are sure to enjoy them (as any recipe from Silwood is sure to tickle your tastebuds) Try them, you will not be disappointed!

Buttermilk Rusks:

Ingredients: ( I halved this recipe and it made +/- 30 medium sized rusks)

  • 10 Cups Self Raising Flour
  • 5ml salt
  • 500g Butter
  • 3 extra large eggs, beaten
  • 2 x 500ml cartons of buttermilk
  • 500ml sugar

Ingredients

Method:

  1. Preheat the oven to 190 degrees centigrade.
  2. Grease 4 loaf tins or a large roasting pan.
  3. Sift together flour and salt
  4. Rub in the butter and add the sugar. Make a well in the centre and pour in the buttermilk and the beaten eggs.
  5. Mix to form a thick scone- like textured dough.
  6. Spread into the prepared roasting pan or loaf tins.
  7. Bake until risen and golden brown. (+/- 1 hour)
  8. Turn out of the pan and allow to cool before cutting into desired rusk shapes.
  9. Dry the rusks out in a cooled oven/ in a fan oven at 80 degrees centigrade for four hours or overnight. Until wonderfully crisp.
  10. Enjoy with a cup of tea.

After 1st Baking


Dried and ready to eat!

Delicious and ready to share with friends.


Dunk into your tea, and enjoy!
Recipe Source: Silwood School of Cookery

Friday, 3 August 2012

Rich, sweet and delectable Millionaire Shortbread

Today I had to provide sweet treats for +/- 20 people so I decided to make "cara's magic brownies," Millionaire shortbread and a lemon meringue pie (watch this space for that recipe). Millionaire shortbread is a hit in my household, for those of you who aren't so sure of what it actually is, it is a shortbread based, caramel and dark chocolate slice. It is absalutely divine and once you have 1 you simply cannot stop eating them until you feel physically ill!

Here is the recipe:

Millionaire Shortbread

Ingredients: (Makes +/- 25 pieces)

Base:
  • 60g butter
  • 30g caster sugar
  • 90g sifted self raising flour
Filling: (I sometimes double my filling to increase the amount of caramel)
  • 60g butter
  • 60g caster sugar
  • 30ml/g golden syrup
  • 1 can (397g) condensed milk
Topping:
  • 100g Dark chocolate
Ingredients

Method:

Base:

  1. Preheat oven to 180 degrees centigrade
  2. Cream butter with caster sugar
  3. Add sifted self raising flour and mix well.
  4. Press into a greased 20cm x 20cm baking pan.
  5. Bake for 15 - 20 minutes until golden brown.
Filling:

  1. Place butter, caster sugar, golden syrup and condensed milk in a saucepan.
  2. Heat until dissolved on a low heat.
  3. Then boil for 5 - 10minutes, stirring continuously (don't stress if you start seeing brown bits floating in your mixture, it happens when it begins to caramelize)
  4. Once a caramel colour, turn heat off.
  5. Pour over the cooked base, spread evenly.
  6. Allow to cool.
Topping:

  1. Melt chocolate in a bowl in the microwave or over hot water.
  2. Pour over the caramel and shake pan from side to side to get the chocolate smooth, even and the caramel covered from corner to corner.
  3. Mark into portions before the chocolate sets firm.
Delicious delights!


Friday, 27 July 2012

Iced Vanilla Cookies

These biscuits are quite impressive little works of "art", the biscuit itself is sweet, chewy and delicious and the icing just adds that extra flare that appeals to the eye. I have to admit that icing these biscuits can become quite time consuming as it isa process, but if you are just doing a simple design such as coloured or white heart shaped biscuits or square biscuits then I would go for it, especially to impress your guests.

So, if you have some time on your hands as well as a steady hand then give these biscuits a bash!
Here's the recipe:

Vanilla Sugar Cookies (makes +/- 25 medium sized cookies)

Ingredients:

  • 200g soft butter
  • 200g caster sugar
  • 1 egg lightly beaten
  • 400g plain flour + more for dusting
  • 3ml vanilla powder/ seeds from 1 vanilla pod

Ingredients

Method:

  1. Preheat the oven to 180 degrees centigrade
  2. Using an electric mixer with a paddle attachment, cream the butter, sugar and vanilla until just becoming creamy in texture. DON'T overwork.
  3. Beat in the egg until well combined.
  4. Add the flour and mix on a low speed until a dough forms.
  5. Place the dough on a floured surface and knead it briefly
  6. roll out to an even thickness.
  7. Use cookie cutters to cut out your shapes and place on a baking tray (use a pallette knife to lift them) 
  8. Bake for 6-10mins until golden brown
  9. Cool on a cooling rack


Before baking

After Baking

Royal Icing:

Ingredients:

  • Whites of 2 medium eggs
  • 500g icing sugar
  • squeeze of lemon juice

Method:

  1. Lightly beat your egg whites
  2. Place the sugar in a bowl of an electric mixer
  3. add 3/4 of the lightly beaten egg whites and the lemon juice, start mixing on a low speed.
  4. Once well combined, check the consistency. If the icing looks dry and crumbly on the sides add more egg white until the icing looks smooth but not wet.
  5. Keep mixing on a low speed until it has reached soft peak consistency.
  6. Put the icing in a small piping bag with a small round holed nozzle.
  7. Pipe border lines on your biscuit.
  8. Once you have piped all your border lines, add a little water to your icing to make it into a runny consistency.
  9. Flood the inside of your borders and allow the icing to dry before decorating further.
  10. Some edible glitter would make these delights look marvelous!

Voilla!

Monday, 23 July 2012

Delicious Tea-time delights

Today I came home and thought to myself what would be a quick, easy and hassle free tea time treat to whip up, seeing as we have run out of things other than rusks to dip in our tea in my household. So I flipped through some recipe books to see if anything inspired me, and there they were... Viennese Fingers.

These biscuits melt in your mouth, they are delicious and they are the perfect treat to serve with a cup of hot tea or coffee. Want the recipe?? I have it for you!

Viennese Fingers (makes 14 biscuits)

Ingredients:

  • 100g softened butter
  • 40g icing sugar
  • 2 egg yolks
  • 1.5 teaspoons natural vanilla extract
  • 125g plain flour
  • 100g dark chocolate
  • 30g extra butter

Ingredients for Viennese Fingers

Method:

  • Preheat the oven to 180 degrees centigrade
  • Line a baking sheet with baking paper or a silicone mat (if you have one at home)
  • Cream the butter and icing sugar together until light and fluffy.
  • Add the egg yolks (1 by 1) and the vanilla extract gradually and beat thoroughly.
  • Sift in the flour, mix until the mixture is just combined and smooth.
  • Spoon the mixture into a piping bag with a fluted nozzle and pipe the mixture into wavy lengths on the baking tray.
  • Bake for 12 minutes or until golden.
  • Cool on the tray and then transfer to a wire rack.

To make the chocolate dipping sauce:

  • melt the 30g butter and chocolate together in the microwave of over a bowl of hot water, stirring occasionally so that it doesnt catch at the bottom of the dish.
  • When the chocolate and butter are combined, dip half the biscuit into the mixture and leave to set on a piece of baking paper or foil. 

  • Store in an airtight container for up to 2 days.

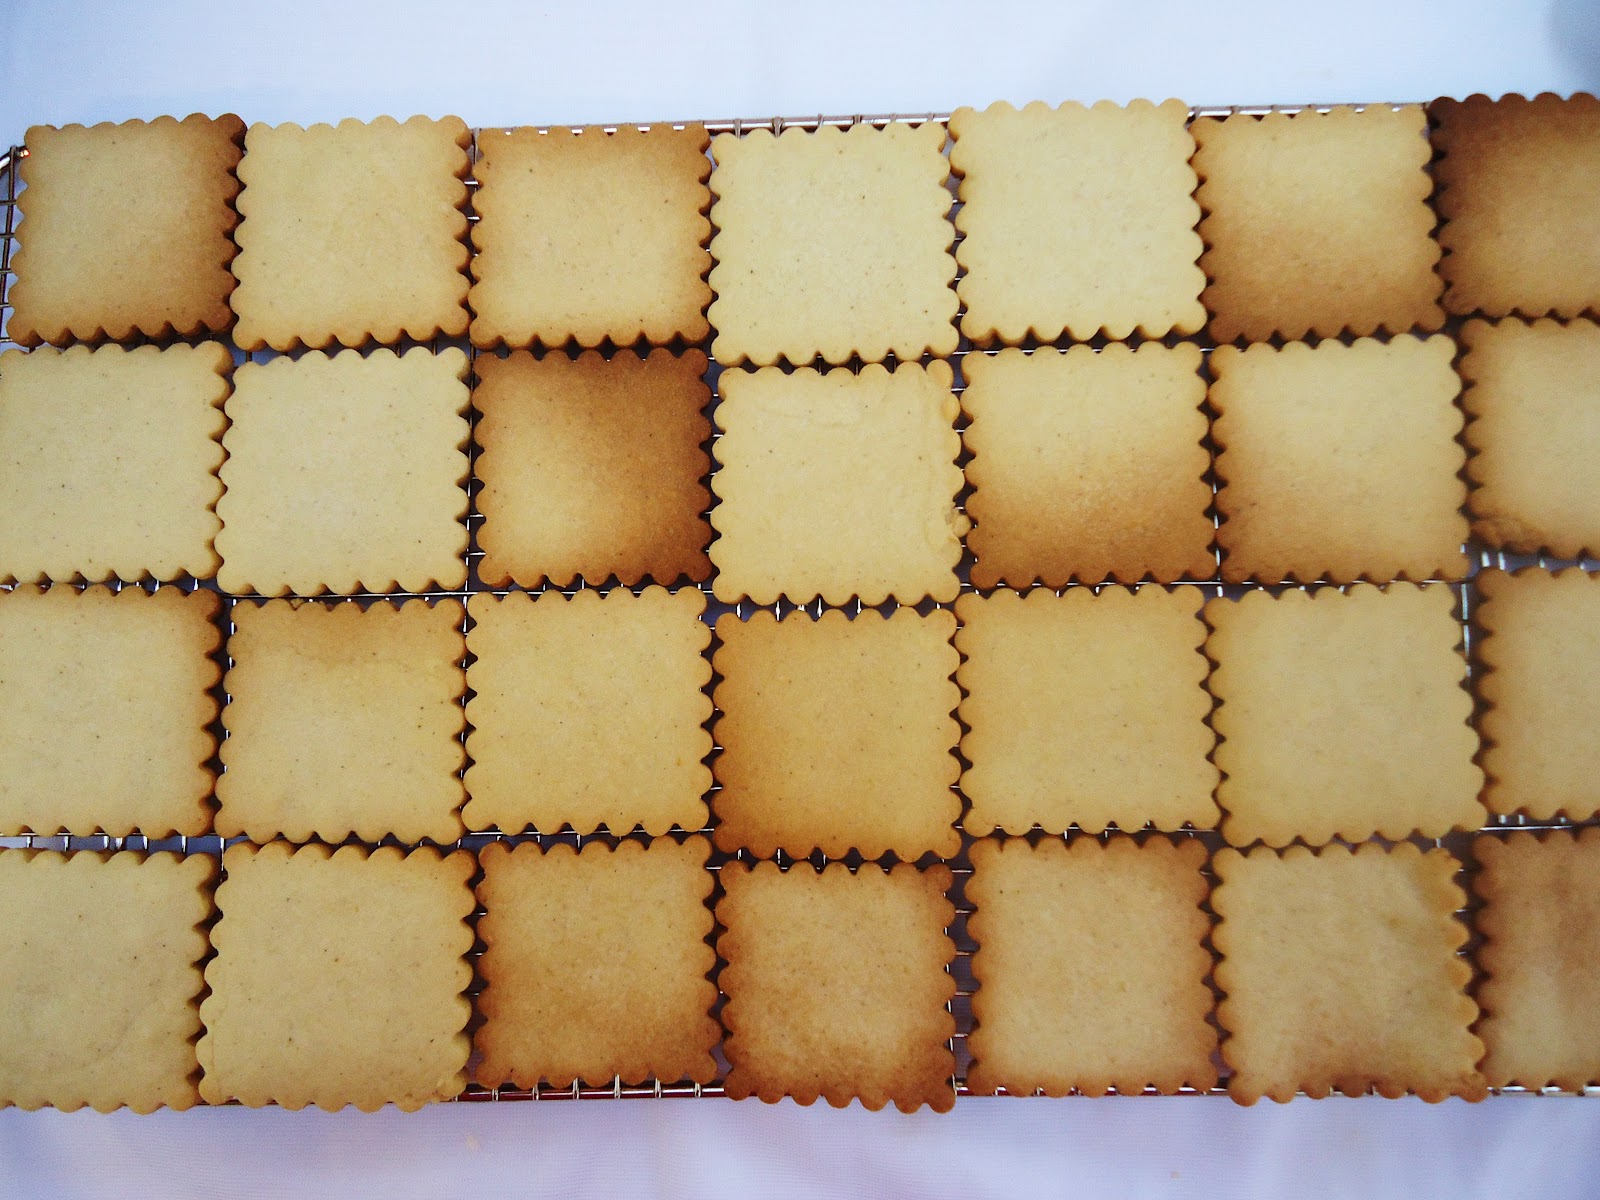
Delicious Viennese fingers!